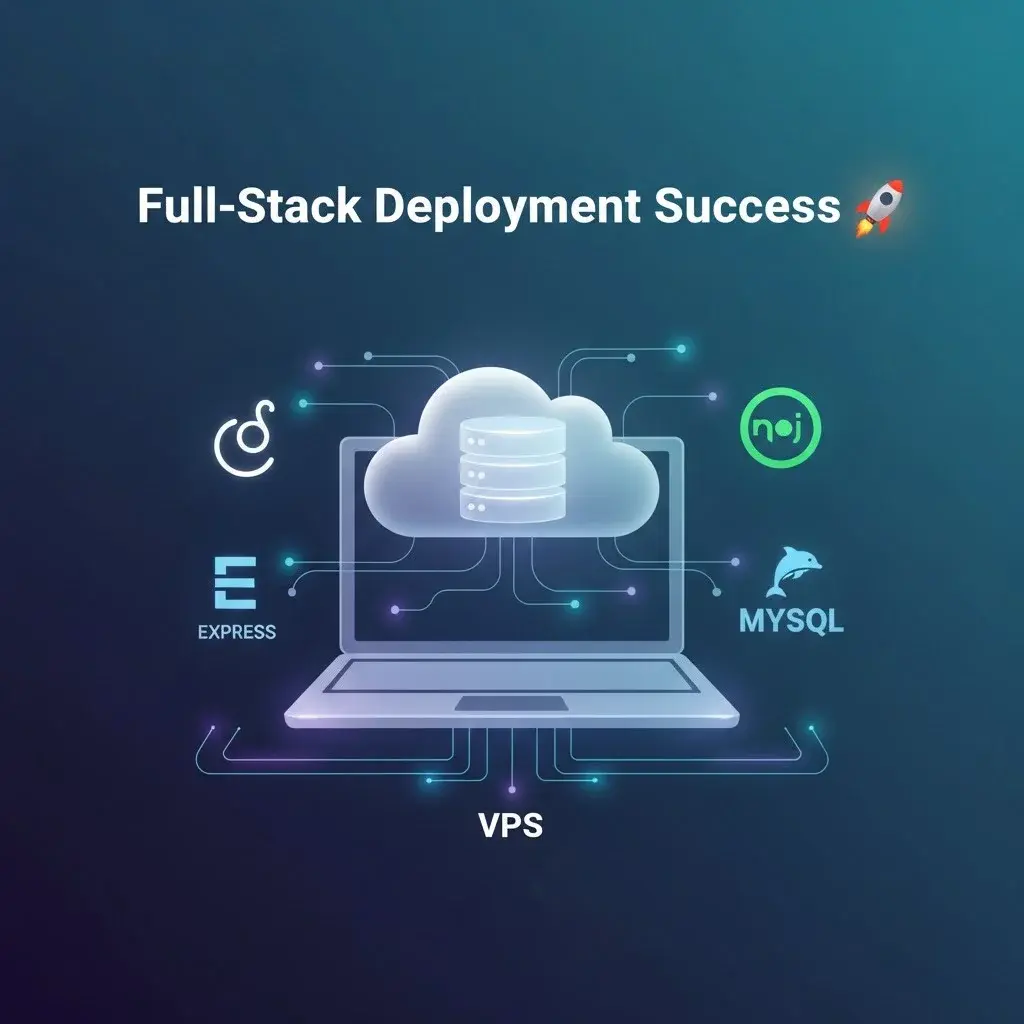
This guide explains how to deploy a Node.js (Express) backend with MySQL and PM2 on a VPS, along with setting up a React frontend using Nginx as a reverse proxy.
Connect to Your VPS
ssh root@203.0.113.10Connect securely to your VPS via SSH using your server's IP address.
Install Node.js, npm, and PM2
apt update && apt upgrade -y
apt install nodejs npm -y
npm install pm2 -g
node -v
npm -v
pm2 -v
Update system packages, install Node.js and npm, then install PM2 globally to manage Node processes.
Useful Shortcuts for Server File Editing
Before you begin editing configuration files on your VPS, it’s helpful to know some basic keyboard shortcuts for nano (the default text editor in most Linux servers).
These commands make it easy to save, cancel, or navigate when editing files like .env or Nginx configs.
# Save changes in Nano
Ctrl + O    → Write (save) changes to file
Enter       → Confirm file name
Ctrl + X    → Exit the editor

# Cancel editing without saving
Ctrl + X    → Exit
N           → Discard changes

# Other helpful shortcuts
Ctrl + K    → Cut the current line
Ctrl + U    → Paste (after cutting)
Ctrl + W    → Search for text in file
Ctrl + C    → Show current cursor position
These shortcuts are essential when editing configuration files such as
/etc/nginx/sites-available/example.com or environment files like .env directly on your server terminal.
Clone Your Project
cd /root
git clone https://github.com/example/demo-express-app.git
cd demo-express-app
Clone your backend project from GitHub or manually upload your code into the VPS.
Install Project Dependencies
npm installInstall all required npm packages defined in package.json.
Setup Environment Variables
Create a .env file in your project root to store app and database configuration.
APP_NAME=DemoApp
APP_PORT=5000
APP_URL=http://localhost

DB_ENGINE=mysql
DB_NAME=demo_db
DB_HOST=localhost
DB_USER=demo_user
DB_PASS=supersecret
DB_PORT=3306

JWT_SECRET_KEY=change_this_secret
JWT_ALGORITHM=HS256

BASE_URL=http://localhost:5000
These variables define your app name, ports, and MySQL credentials.
Install and Configure MySQL
apt install mysql-server -y
systemctl start mysql
systemctl enable mysql
mysql_secure_installation
Install and secure MySQL, then start and enable it to run automatically on reboot.
Create Database and User
mysql -u root -p
CREATE DATABASE demo_db;
CREATE USER 'demo_user'@'localhost' IDENTIFIED BY 'supersecret';
GRANT ALL PRIVILEGES ON demo_db.* TO 'demo_user'@'localhost' WITH GRANT OPTION;
FLUSH PRIVILEGES;
EXIT;
Create a new database and user with full privileges for your application.
Test MySQL Connection
mysql -u demo_user -p
SHOW DATABASES;
Verify your new MySQL user can access the database successfully.
Start and Test Your App
npm run start
# expect logs:
# Connected to mysql database
# Server running on http://localhost:5000
Run the app locally to confirm it connects properly before using PM2.
Keep App Running with PM2
pm2 start dist/index.js --name demo-backend
pm2 save
pm2 startup
PM2 ensures your backend runs continuously even after terminal closure or system reboot.
PM2 Management Commands
pm2 list
pm2 logs demo-backend
pm2 restart demo-backend
pm2 stop demo-backend
pm2 delete demo-backend
Use these PM2 commands to view logs, restart, stop, or remove your app process.
Set Up Nginx Reverse Proxy
apt install nginx -y
nano /etc/nginx/sites-available/example.com
Install Nginx and create a configuration file to route traffic to your Node.js app.
server {
    listen 80;
    server_name example.com www.example.com;

    location / {
        proxy_pass http://127.0.0.1:5000;
        proxy_http_version 1.1;
        proxy_set_header Upgrade $http_upgrade;
        proxy_set_header Connection 'upgrade';
        proxy_set_header Host $host;
        proxy_cache_bypass $http_upgrade;
    }
}
ln -s /etc/nginx/sites-available/example.com /etc/nginx/sites-enabled/
nginx -t
systemctl reload nginxLink the config file, test syntax, and reload Nginx to apply changes.
Add SSL (HTTPS)
apt install certbot python3-certbot-nginx -y
certbot --nginx -d example.com -d www.example.com
Install Certbot to automatically configure free SSL certificates via Let's Encrypt.
Update App (When You Push New Code)
cd /root/demo-express-app
git pull
npm install
pm2 restart demo-backend
Pull the latest code, update dependencies, and restart your app using PM2.
Debug Common Issues
- Access denied for user — check
.envcredentials and MySQL grants. - ECONNREFUSED — ensure MySQL is running:
systemctl start mysql. - App not starting — check logs:
pm2 logs demo-backend.
React Frontend Deployment Guide (Vite)
Connect to VPS
ssh root@203.0.113.10Connect again to your VPS to deploy the frontend application.
Install Node.js, npm & Serve
apt update && apt upgrade -y
apt install nodejs npm -y
npm install -g serve pm2
Install Node.js, npm, and serve for hosting static files.
Clone Your Frontend Project
cd /root
git clone https://github.com/example/demo-frontend.git
cd demo-frontend
Fetch your React project from GitHub or upload it manually.
Install Dependencies
npm installInstall frontend dependencies required for the React build.
Build Your App
npm run buildGenerate production-ready static files in the dist/ folder.
Run Locally (for testing)
serve -s dist -l 3000Preview your app locally on port 3000 before deploying it permanently.
Run Frontend in Background (Using PM2)
pm2 start "serve -s dist -l 3000" --name demo-frontend
pm2 save
pm2 startup
Use PM2 to keep the frontend running continuously in the background.
Verify Everything
pm2 list
pm2 logs demo-frontend
pm2 restart demo-frontend
pm2 stop demo-frontend
Check logs and restart or stop the frontend when needed.
Access Your App
http://203.0.113.10:3000Open the IP address in your browser to confirm the site is running.
Example Directory Structure
/root
├── demo-express-app/
│   ├── dist/
│   ├── package.json
│   └── ...
└── demo-frontend/
    ├── dist/
    ├── package.json
    └── ...
Restart / Redeploy Frontend
pm2 stop demo-frontend
npm run build
pm2 restart demo-frontend
Stop the old process, rebuild the latest code, and restart the frontend.
“Great things are built step by step — keep learning, keep building.”